
An Announcement is used in in the Announcement display.
The fields:
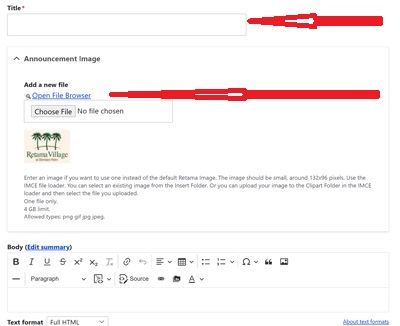
Title: self-descriptive. Note - Since Titles are displayed in special font/bold format. Ergo, it is not necessary for the Title to be in all capitals to stand out. All capitals is harder to read.
Announcement Image: The default is the Retama Village logo. An image that reflects the Announcement can be added to enhance the message.
To add the Event Image, click on the Open File Browser link above the Choose File box. You can either upload an image or pick one from the Clipart Folder.
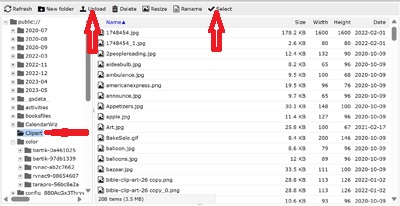
If you want to upload an image, click on Upload button.
A tip: highlight a clipart item and then down arrow to view the clipart items in the display window.
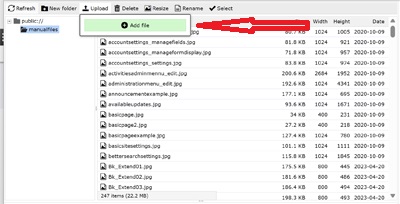
Then clip on the Add File button which will bring up a File Manager window. Browse to where your image is. The image should be 80-100 pixels high. Once the image is selected, click the Open button. Once the little clock finishes, the name of the image file will appear indicating the file was uploaded. Click on Select to add the image to the Announcement.

The editor should be in Full HTML which provides more editing features. Full HTML should be used for consistency of displays.
There is a button on the Text header that says Source. That will change the text display from formatted to raw text. This is for when you want to do special HTML editing that the editor doesn't provide. Usually not needed.
Text: This is the rest of the text describing the Announcement. Note, pressing the Ctrl key and the right mouse button will enable the spell checker for that word.
Since the times for the system are in the 7:00am format, (lower case am/pm, no periods, and no space between the numbers and the am/pm). It is preferred that times in the Announcement text field be in the same format for consistency.
Locations and Contacts should be included if appropriate.
The start date is mostly for documentation purposes.
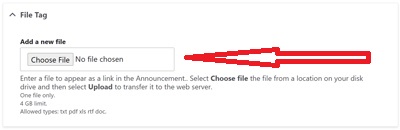
FILETAG: Optional, to include a file link to be displayed with the Announcement.
To add a FILETAG, click on the Browse button. Then select the file to be included. The file must have one of the file extensions listed and less than 10MB. After the file has been selected, click on the Upload button. Once the little clock ends, the file name will be displayed indicating the file upload was accomplished.
Multiple files can be added one at a time.
The purpose of Hide is to hide the Announcement from being displayed without removing it for historical purposes. Put any character in Hide and the Announcement with not display.
Save: click to save the new Announcement.